Tuesday, August 31, 2010

Corner Window Conundrum!

Thank you all for taking the tour of my Kitchen on Monday and for all of your sweet comments!
When we first saw the house, I loved that it had these big corner windows over the sink...

But, as I laid awake that night, I wasn't pondering whether our offer would be accepted, or whether we would sell our house. No, it was the more serious issues that brought on the insomnia. Like, what kind of window treatment should I do on these windows?
 I'm deep like that!

My initial thought was to do a valance but then, I realized that it might just take away from the view. We can see all the way to Mt. Hood on a clear day and a valance would have just cut the top of it right off! Also, there are a lot of dark cabinets in this here room, and I instinctively knew that it needed some softening.

When considering window treatments, I think it's important to take into consideration the windows in the adjoining rooms.
Here are the spaces connected to the kitchen...

The Dining Room

And, the Breakfast Nook

I had fabric left over from making the curtains for our previous home so I knew it wasn't going to cost much. I also knew, that I wanted to keep the same lines as the other treatments.
The answer was to do the same simple panels but add some detail for a twist that would highlight this corner!

The first thing we did was pick out these chunky curtain rods at Lowes. We used them throughout our kitchen and family room but here there would be absolutely no room for finials.
See what I mean?
My handy Yankee cut the lengths and attached them with L Brackets in the corner.


My next step was actually making the panels. Let me just say again, that I am in NO WAY a seamstress! But, the one thing I have learned is that it is so worth it to go the extra step and Line your panels with an inexpensive fabric. It helps them hang so much more crisply and it also helps control the light coming through so you don't distort the pattern.
 You can tell in the next photo that one side is
wider than the other.

That is because when the middle sections are gathered together they make one giant "panel" so to speak. We didn't want to overwhelm the space with fabric. You will also notice that they are the full length of the window so as to allow plenty of room for gathering and poofing.
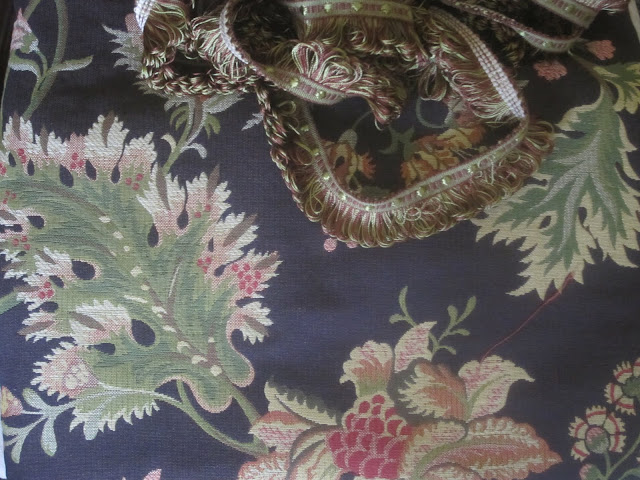
The next step was finding the perfect Tassels...
Then I put a cup hook on either side of each window


And one in the "Middle"

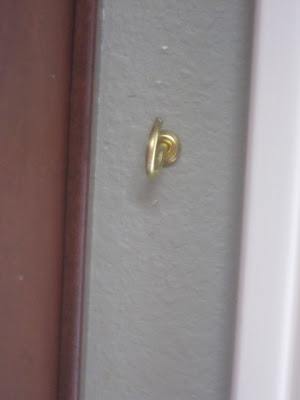
You can see the tassel hanging just ready to start its job!
I pulled those two panels together and tied the tassel around them. I reached my hand around the back to kind of "pinch" them together to look more connected.
Now for the side panels...
Ummm...is it just me or does my hand look really weird in this picture? I digress...
Loop the rope portion of the tassel around the hook and tie the fringe ends together one time around.

Start pulling the inside portion out just a bit to get it to swag just right. Play around with it to get just the right amount of Poof that you like. And, don't forget...
Pull the other side over just enough to cover up the cup hook.

Once again, here is where we started

And this is where we ended up!
Showing you these photos gave me a great opportunity to climb up on the counter to clean the far reaches of that corner!
Thanks for that!

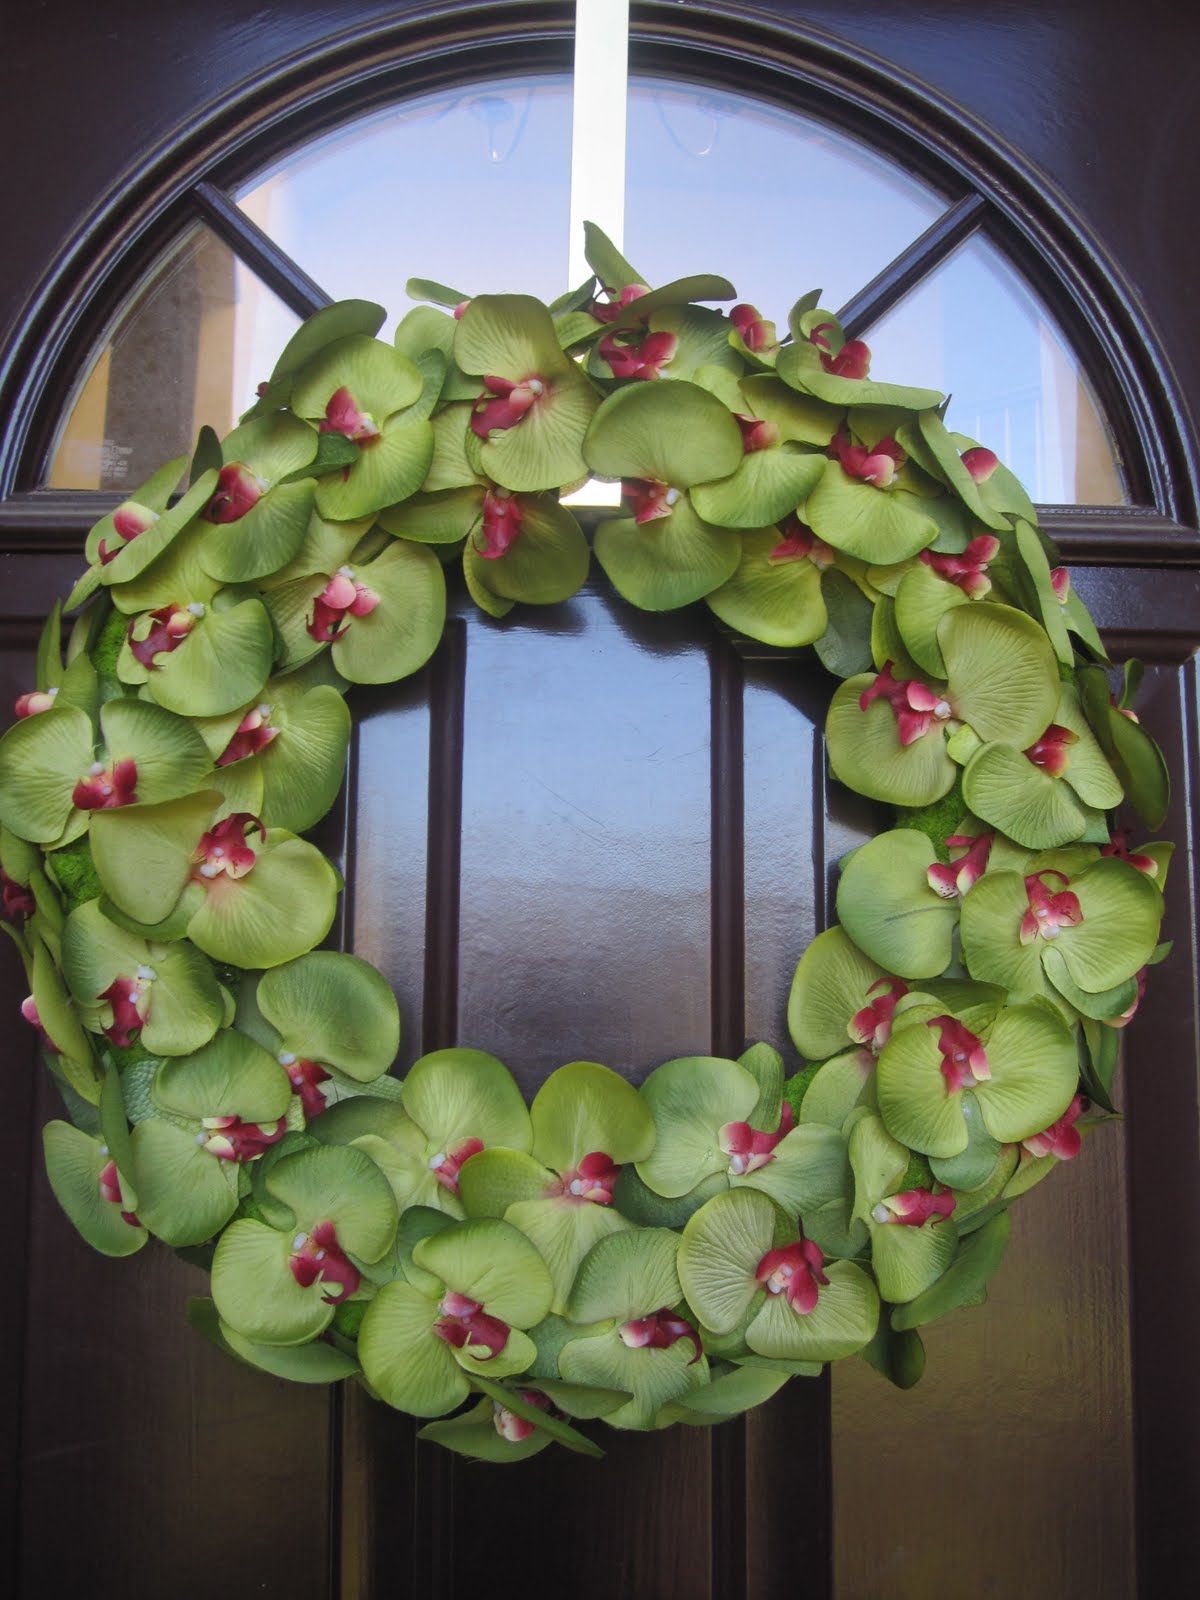
And, here is what I will be working on tonight and hope to have ready to show you soon...

From this Southern Girl at Heart,
Vanessa
*I'm linking up to these parties*
Spotlight Yourself
Cheap Chic Home
DIY Showoff

Monday, August 30, 2010

The Heart of the Home!


I'm so excited to be linking this post up to the Heart of the Home Party over at Note Songs!

Won\


*This was originally published in August*
God bless my little kitchen, I love its every nook
And bless me as I do my work
Wash pots and pans and cook
And may the meals that I prepare, be seasoned from above
With Thy great blessing and Thy grace, but most of all Thy love
As we partake our earthly food the table before us spread
We'll not forget to thank thee, Lord, Who gives us daily bread
So, bless my little kitchen, Lord and those who enter in
May they find naught but joy and peace and happiness therein.
*Author Unknown*

Let me introduce you to the Heart of our Home!
Here is what it looked like when we first laid eyes on it...


Isn't our Realtor's purse cute? She is a very stylish lady!
You can't see them now, but there are 2 sky-lights up above that made me almost collapse with joy! You don't know how much that light is like a life-line in the rainy months here in the NW.
Here is another angle
What you can't see in these photos is that there was tile missing on the counters, doors hanging off their hinges, and the door to the appliance garage in that far corner was permanently opened half-way. But, you know what I just saw...my very first real, honest-to-goodness pantry! Who cares about tile as long as I have a place for all of the cereal this family eats! And a GAS Cooktop! Be still my heart!
We set to work spiffing it up, changing out fixtures, banishing the green desk chair to the play-room, replacing knobs and tile until the space slowly transformed into this...

Our old house had all white cabinetry and I had just fulfilled my dream of choosing new counters, back-splash and appliances right before we moved. Isn't that the way it goes? So, getting used to the dark woodwork took some time and some tweaking in terms of decorating but I love it!
Here is another glance...

You know what I realized while I was taking pictures of my kitchen? Just how "Staged" those magazine photos really are! I mean, those fake lemons look so much better than the overly-ripe bananas and squishy tomatoes that were in that fruit basket!

My ever-so-handy husband switched out the faucet and it went from looking like this...

To this...
And it actually works too! Trust me, that is a
step up from how it was before.

I also changed out the knobs from this...
To this...
The reason I picked this particular knob was because it wasn't quite as dark as a true Oiled Bronze to allow some contrast against the dark cabinet. It also has just a hint of gold to blend in with our door handles and hinges.
Here is another view of my corner window...
I have a great view of the mountains (when the blinds are actually open!) while I am doing the dishes
and I will share with you in another post how I decided upon
this particular window treatment.

These are my little Rooster Cannisters. Another great TJ's find!


I love it when folks pull up a stool to visit with
me while I am cooking.
I literally stalked these like a woman possessed for weeks and weeks at Tuesday Morning! They were over my budget and not a necessity so I waited...and watched...and waited some more. And then, they finally went on CLEARANCE
(truly one of the sweetest words in the English language)
and I managed to snag 3 of them!
This is my other favorite way for them to be used...
We definitely know how to rock the
 "Bed-Head" look in this family!


Here is a view of the desk area in the kitchen...
In this season of life, with the amount of traffic this area sees, having a desk chair here isn't happening. Plus, this is the perfect space for a 3 year old to hide when we are playing hide-and-seek. It is NOT the perfect space for her 34 year old mother to hide during said game! I do try it (at the begging of my rascals) but it isn't a pretty picture folks!

Here is the infamous Appliance Garage. It now goes up...


And it even comes back down!
Ahhhh....it really is a wonderful feature!
Here is a look at the kitchen when the upper lights are on...
I tend to be somewhat of a hermit in here and don't usually have lots of lights on (maybe its so I don't see any grime!) 
but these are great when we want to add a little bit
of brightness on a dreary day. I love the molding on that ledge and it is truly the very first thing I noticed about this space.

I never knew how much I would enjoy glass cabinet fronts and how much they help to break up the dark wood.

Can you tell which plates were currently in the dishwasher at the time that these pictures were taken?

Here is one last look at my kitchen as you would see it coming in from the dining room...
Well, I hope you have enjoyed this little tour and I really wish you could come pull up a stool and have a cup of coffee! Oh, and some banana bread that I will be making with those overly-ripe bananas that were mysteriously missing from the fruit basket!
From this Southern Girl at Heart,
Vanessa

Thursday, August 26, 2010

Inspiration Friday!

Welcome to Inspiration Friday!
Today marks the first time that you will be able to "link up" and submit your own Inspirations from this week. I'm so excited to be hosting my first party and I hope you enjoy it and find great Inspiration from your fellow Bloggers!
What should you submit, you ask?
Well, whatever inspired you this week!
Did you try a new Recipe this week and Blog about it? Did you post a favorite Scripture or Quote? What about a Decorating Epiphany that you would love to use to inspire others?

All are welcomed here at
Inspiration Friday!
I've seen some great things out there this week...beautiful Baby Showers, Scripture that moved me to tears, personal stories of Tragedy and Triumph,
and any number of fabulous Decorating ideas!
But, here is what (or should I say WHO) inspired me this week...
Meet Sheri
Oh, and her cutie-pie fiance Vance!
Sheri is a fellow "newbie" to the Blogging Community and she not only shares about her home projects (both realized and in dream-stages), but she is also very honest and self-deprecating (my kind of humor!) about her life, her past and her future. 
Sheri recently moved into a new home in Florida and it was this makeover that really caught my attention.
This is her front door Before...

Not horrible, but in her words not really saying,
"Welcome, come in! We're so glad you're here!"
She and her handy hubby-to-be got to work and transformed the door into this beauty...


I LOVE that pop of color, don't you! They also installed new hardware to really give it an updated look.
Here is another view...

So beautiful and eye-catching! Please take some time and go over to say 'Hi' to Sheri and her blog at
http://thesimasek-kiblerproject.blogspot.com/

It was through this post, linking up to one of those parties out there, that I met Sheri and her Front Door.
I was particularly Inspired that she got this project done so quickly after moving in.
You see, my front door has been U.G.L.Y. (It ain't got no alibi!) since we moved in 2 YEARS AGO!
Sheri is Inspiring me this week to GET TO IT! Once and for all, while the weather is still fairly nice, this door needs to finally receive its Makeover! There isn't a wreath large enough to conceal its sad state! Oh, you don't believe me? Well, take a look at these photos that I submit to you as evidence...


See what I mean? And, now that I've put it out there, I'm going to have to actually do something about this! Yikes!

So, now it's your turn! What did you post on your Blog this week that you hope will Inspire others?
Here are the instructions for those of you who are new to this "Linky" Party thing...
1. Add your Permalink to your entry but not your General Blog Address. To get your Permalink, click on the title of the blog post you are wanting to submit and copy and paste the address into the URL box. You will also have to add your address but it will not be visible to anyone else.
2. Do not try and Link up until you have actually published that particular post on your blog.
3. Please link back to the host blog, Southern In My Heart, so that those who visit your blog will be able to find some wonderful Inspiration from everyone else!
4. Leave me a comment and let me know what you think about my Inspiration Friday party!

Now, let's PAR-TAY!

Wednesday, August 25, 2010

Nifty Fifty and Thank You

Thrifty Decor Chick!
First of all, let me say a giant Thank You to the 51 new friends (as of this morning!) I have made here in Blogland! I call you friends because you have become just that and because sometimes saying "Followers" sounds a little bit like we joined a cult or something!
Now, on to the REVEAL!

I was losing all track of time as I poured over past posts at the Thrifty Decor Chick. It is easy to do as Sarah has so many fabulous ideas! I mean, I could spend hours looking at this gal's blog and probably have!
And then, there it was...the answer to my dilemma! Could it be that something that I was agonizing over could be so simple? And, could it be that I am so dumb that I didn't think of it sooner? The answer is YES to both those questions! I didn't care what kind of reflection it was on my Decorating Smarts, I was just thrilled to know that I could do it!
What is it, you ask?
Remember my Weekend Project I gave you a peek at?

I'm not totally opposed to Brass in some spaces, but these brass bars on my fireplaces were not doing them any justice. They were scratched and beat up and just didn't quite go with the Decor around them. So, what to do? That is what I wondered for 2 years! 2 YEARS PEOPLE!
That is where Sarah came in!
She had the answer and it was to simply Spray Paint them!
Ummmm...duh! That is what I said to myself after I picked myself off the floor at the realization that I could do this whole thing for just the cost of a can of spray paint!
So, I set to work...
Sarah painted hers an Oiled Bronze but with my dark woodwork and tile, I knew I needed to stick with something a bit lighter. I also wanted it to still have a reflective quality.
I looked and looked and then...
EUREKA!


I found this Copper color with a Metallic sheen!
I also picked up that handy-dandy sanding block which is Reusable! How long has this been around? Man, I am out of it!
Next step was removing all of the brass bars. They just popped right out as easy as could be.


They all received a very light sanding before...


I Spray Painted their little hearts out!
I let them dry for awhile (probably a couple of hours or so just to make sure we didn't end up with smudges) and then...
They were ready to make their debut!
Here is the Living Room Fireplace before...


Here is the After...


Am I the only one hearing the Hallelujah Chorus right now?
Look at how it picks up the tones in the tile surround!

Here is the Family Room Fireplace Before...

Here is the After...


Soft, subtle, still brings in some reflective light and
Oh so much better!
I have some of the spray paint left and I was feeling a little "Spray Happy" afterwards and began looking around for other things to cover in Copper.
It may have just been the fumes though!

So, once again, let me just say...
THANK YOU THRIFTY DECOR CHICK
and
GOD BLESS YOU!


I'm linking to the parties at...
Domestically Speaking
It's So Very Cheri
The Shabby Chic Cottage
My Romantic Home
Flaunt It Friday